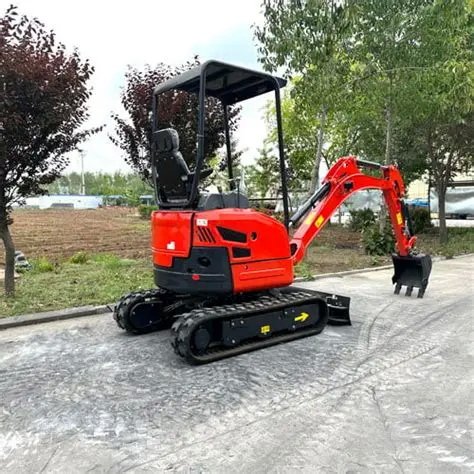
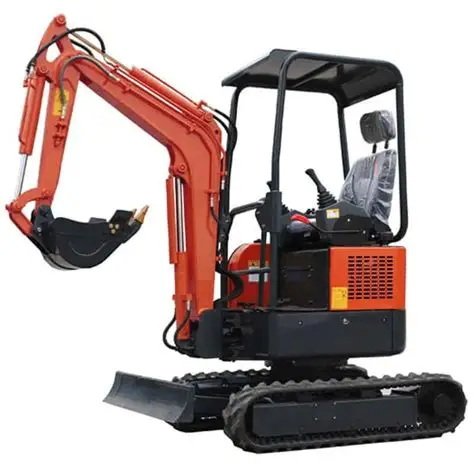
How to Safely Lift with a Compact Excavator: Capacity, Charts & Best Practices
Content Menu
● Why Lifting Capacity Matters on a Compact Excavator
● Two Key Limits: Hydraulic Capacity vs. Tipping Capacity
>> Tipping (Stability) Capacity
● How to Read and Use an Excavator Lift Chart
>> Step 1: Confirm Your Machine Configuration
>> Step 2: Determine Lift Point Height
>> Step 3: Measure the Lifting Radius
>> Step 4: Find the Safe Lifting Capacity
● 5 Critical Safety Rules for Lifting with a Compact Excavator
>> 1. Never Exceed the Rated Lifting Capacity
>> 2. Use Only the Approved Lifting Point
>> 3. Keep the Machine on Stable, Level Ground
>> 4. Minimize Radius and Keep the Load Low
>> 5. Never Lift or Travel Over People
● How to Create a Simple Lift Plan for Excavator Lifting
● Pick‑and‑Carry with an Excavator – What You Must Know
>> Why Pick‑and‑Carry Is High Risk
>> Safe Pick‑and‑Carry Practices
● Real‑World Lifting Mistakes and How to Avoid Them
>> Mistake 1: Ignoring Ground Conditions
>> Mistake 2: Overloading the Quick Coupler
>> Mistake 3: Lifting Over the Side at Full Reach
>> Mistake 4: No Communication Between Operator and Ground Crew
● How to Inspect and Prepare for a Safe Lift
>> 2. Lifting Equipment Inspection
● Training and Competence: Who Can Lift with an Excavator?
● Certeg’s Role: Designing Safer Lifting into Every Machine
>> Features That Support Safe Lifting
>> Support for Operators and Contractors
● Action Steps for Your Next Job
● FAQ
>> 1. How do I find the lifting capacity of my compact excavator?
>> 2. Can I use the bucket to lift loads?
>> 3. What happens if I exceed the lifting capacity?
>> 4. Is it safe to travel with a suspended load on an excavator?
>> 5. Do I need a special license to lift with an excavator?
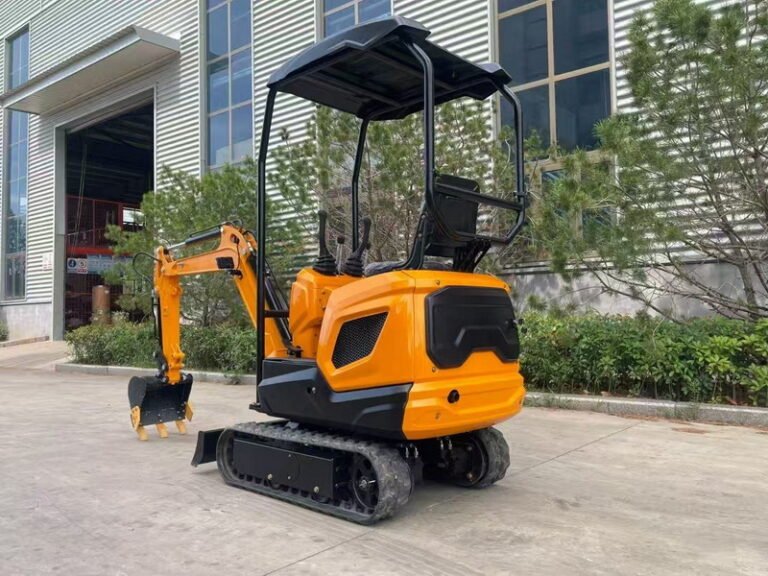
When a compact (mini) excavator is on a jobsite, it often does more than just dig — it lifts, moves, and places pipes, trench shields, concrete slabs, and other heavy materials. But lifting with an excavator is not the same as using a crane, and misunderstanding its lifting capacity can lead to tip‑overs, structural damage, or serious injury.
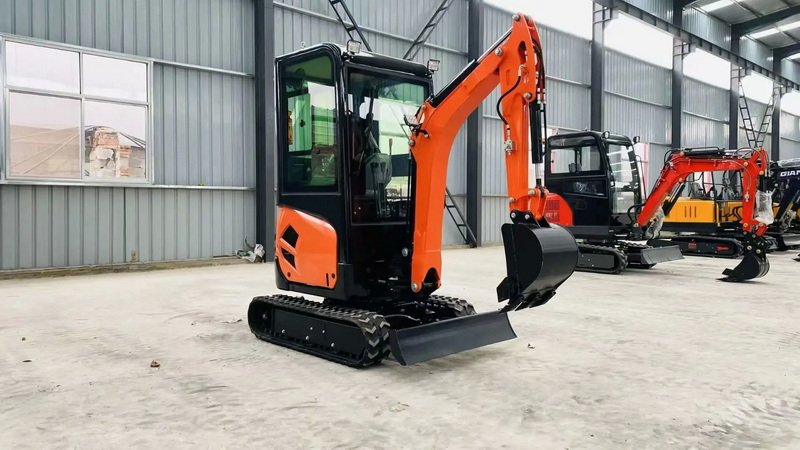
This guide explains excavator lifting capacity, how to read a lift chart, and the critical safety practices every operator and site supervisor must follow. Whether using a Certeg mini excavator, skid steer, or larger machine, this article will help lift safely, comply with regulations, and protect crew and equipment.
Why Lifting Capacity Matters on a Compact Excavator
Excavators are primarily designed for earthmoving, but they are frequently used for incidental lifting tasks like:
– Placing pipes and culverts
– Loading and unloading materials from trucks
– Positioning trench boxes and formwork
– Moving concrete slabs or precast elements
Because of this, knowing your machine’s lifting capacity is not optional — it is a safety and legal requirement. Overloading or lifting beyond the safe radius can:
– Exceed hydraulic limits (causing pump or cylinder failure)
– Exceed tipping limits (causing the machine to overturn)
– Damage the boom, arm, or undercarriage
– Endanger the operator and nearby workers
Manufacturers like Certeg design each excavator model with a specific rated lifting capacity, based on rigorous testing to ISO 10567 and similar standards. This capacity is published in the lift chart in the operator’s manual and often displayed on the machine itself.
Two Key Limits: Hydraulic Capacity vs. Tipping Capacity
Every compact excavator’s lifting capacity is limited by two fundamental factors.
Hydraulic Capacity
This is the maximum weight the hydraulic system can lift before it stalls or the relief valves open. It depends on pump flow, cylinder size, and system pressure. If the load exceeds hydraulic capacity, the boom or arm may not lift, or the machine may lose control during lowering.
Tipping (Stability) Capacity
This is the point at which the excavator begins to tip or lift a track off the ground. It depends on machine weight, counterweight, center of gravity, and ground conditions. Tipping capacity is usually the more restrictive limit, especially when lifting over the side or at long reach.
Manufacturers test the machine at various boom and arm configurations and publish safe lifting capacities that do not exceed:
– 87% of hydraulic lifting capacity, or
– 75% of tipping load,
whichever is smaller at each lift point.
How to Read and Use an Excavator Lift Chart
The lift chart is the primary tool for determining safe lifting capacity. Here is how to use it correctly.
Step 1: Confirm Your Machine Configuration
Before reading the chart, verify:
– Boom length (standard, long, or heavy)
– Arm length (standard, long, or heavy)
– Bucket weight (standard bucket, no bucket, or other attachment)
– Quick coupler weight (if fitted)
– Counterweight (if applicable)
Lift capacities are only valid for the exact configuration shown at the top of the chart. Changing the boom, arm, or attachment changes the capacity.
Step 2: Determine Lift Point Height
This is the vertical distance from the ground to the bucket pivot pin (not to the load). Measure:
– Height of the load itself
– Length of the lifting device (chain, sling, lifting eye)
– Height at which you want to place the load (for example, onto a trailer or scaffold)
Use the left column of the chart to find the closest lift point height.
Step 3: Measure the Lifting Radius
This is the horizontal distance from the centerline of the swing point to the bucket pivot pin. Decide whether you are lifting:
– Over the front (most stable)
– Over the side (less stable, lower capacity)
– Over the rear (often very limited)
Use the top row of the chart to find the lifting radius.
Step 4: Find the Safe Lifting Capacity
Locate the cell where your lift point height and lifting radius intersect. The number in that cell is the maximum safe lifting capacity for that position.
Important notes:
– If there is no number in the cell, the machine has no lifting capacity at that position — do not attempt the lift.
– As radius increases, lifting capacity decreases rapidly.
– Lifting over the side is usually more limited than lifting over the front.
5 Critical Safety Rules for Lifting with a Compact Excavator
Follow these rules on every job to prevent accidents and equipment damage.
1. Never Exceed the Rated Lifting Capacity
Always know the exact weight of the load before lifting. If the weight is unknown, do not lift until it is confirmed (for example, by scale, manufacturer data, or engineering calculation). Never guess or assume the machine can handle a load that is close to the chart limit.
2. Use Only the Approved Lifting Point
Only use a purpose‑designed lifting point (for example, a certified lifting eye on the quick coupler or boom). Never use the bucket teeth, bucket edge, or any improvised attachment as a lifting point. Ensure the lifting point is rated for the load and is in good condition (no cracks, deformation, or excessive wear).
3. Keep the Machine on Stable, Level Ground
Lifting on soft, uneven, or sloped ground drastically reduces stability. Always:
– Level the work area if possible.
– Use mats or steel plates on soft ground to distribute load.
– Avoid lifting on slopes steeper than 5–10°, and never travel across slopes greater than 25°.
If working on a slope, keep the blade or tracks facing downhill and avoid swinging the load downhill.
4. Minimize Radius and Keep the Load Low
The safest lift is short radius, low height, and close to the machine. To reduce risk:
– Keep the boom as close to the cab as possible.
– Keep the load as close to the ground as site conditions allow.
– Avoid full extension of the arm and boom when lifting heavy loads.
5. Never Lift or Travel Over People
No load should be suspended over, or travel over, any person. Establish a clear exclusion zone under and around the lifted load. Use a spotter or signaler when the operator cannot see the load or the path clearly. Ensure all workers are trained to stay out of the swing radius and lifting zone.
How to Create a Simple Lift Plan for Excavator Lifting
Many accidents happen because lifting is treated as an afterthought. A simple lift plan forces you to think through the risks before starting.
When You Need a Lift Plan
A formal lift plan is strongly recommended (and often required) when:
– The load is heavy (for example, greater than 1 ton) or awkward (long, unbalanced).
– Lifting over people, traffic, or sensitive structures.
– Working near power lines, excavations, or unstable ground.
– Using the excavator for pick‑and‑carry operations.
Even for routine lifts, a quick “mental plan” should cover:
– Load weight and center of gravity
– Machine configuration and lift chart capacity
– Ground conditions and setup area
– Path of travel and overhead/underground hazards
– Communication method (hand signals, radio, etc.)
– Emergency procedures
Basic Lift Plan Checklist
Use this checklist before every significant lift:
– Load weight is known and less than or equal to rated capacity at that radius and height.
– Machine is on firm, level, stable ground.
– Lifting point and rigging (chain, sling, shackle) are rated for the load and in good condition.
– Path is clear of obstacles, people, and overhead lines.
– Exclusion zone is marked and enforced.
– Operator and signaler agree on signals and roles.
– No one is under or directly below the suspended load.
Pick‑and‑Carry with an Excavator – What You Must Know
Sometimes, you need to move a load a short distance with the excavator (pick‑and‑carry). This is much more dangerous than a static lift.
Why Pick‑and‑Carry Is High Risk
Dynamic forces (acceleration, braking, turning) increase overturning risk. Ground conditions (bumps, slopes, soft spots) can destabilize the machine. The load can swing, changing the effective radius and exceeding capacity.
Safe Pick‑and‑Carry Practices
If pick‑and‑carry is necessary:
1. Use a dedicated lifting device (for example, excavator lift eye), not the bucket.
2. Keep the load as low as possible (just above ground or obstacles).
3. Keep the boom aligned with the direction of travel (not swung to the side).
4. Travel slowly and avoid sudden starts, stops, and sharp turns.
5. Use the shortest possible lifting radius for the task.
6. Avoid slopes and soft ground; if unavoidable, keep the blade down and travel straight up or down.
7. Use tag lines to control load swing, and keep workers well clear of the path.
Many safety authorities recommend that excavators should not be used for pick‑and‑carry unless specifically designed and equipped for it (for example, with a load moment limiter and controlled lowering devices).
Real‑World Lifting Mistakes and How to Avoid Them
Learning from real incidents can save lives. Here are common mistakes and how to prevent them.
Mistake 1: Ignoring Ground Conditions
Scenario: Operator lifts a heavy pipe on soft, wet soil. The machine sinks and tips.
Prevention:
– Inspect ground conditions before lifting.
– Use mats, steel plates, or compacted fill to create a stable platform.
– Never lift on slopes or near the edge of excavations.
Mistake 2: Overloading the Quick Coupler
Scenario: Operator uses a quick coupler as a lifting point for a load heavier than its rating. The coupler fails, dropping the load.
Prevention:
– Only use lifting points rated for the load.
– Check the quick coupler’s rated capacity and ensure it matches the excavator’s lifting chart.
– Never use a quick coupler for lifting if it is not designed and certified for that purpose.
Mistake 3: Lifting Over the Side at Full Reach
Scenario: Operator lifts a trench box over the side at maximum arm extension. The machine tips sideways.
Prevention:
– Always check the lift chart for side‑lift capacity (it is usually much lower than front‑lift).
– Keep the load as close to the machine as possible.
– Use a crane or telehandler for heavy side lifts when possible.
Mistake 4: No Communication Between Operator and Ground Crew
Scenario: Operator lifts a load while a worker is under it. The load swings and strikes the worker.
Prevention:
– Establish clear hand signals or radio communication.
– Use a trained signaler (dogger) when the operator cannot see the load.
– Enforce a strict “no one under the load” rule.
How to Inspect and Prepare for a Safe Lift
A pre‑lift inspection is as important as reading the chart.
1. Machine Inspection
Before any lift, check:
– Hydraulic system (no leaks, proper oil level)
– Boom, arm, and bucket pins (no excessive wear or looseness)
– Tracks or tires (good condition, proper tension or pressure)
– Blade or stabilizers (in good condition, properly attached)
– Safety devices (load moment limiter, alarms, controlled lowering valves)
2. Lifting Equipment Inspection
Inspect all rigging and lifting accessories:
– Chains, slings, and shackles: no cracks, kinks, or excessive wear.
– Lifting eyes and hooks: no deformation, proper latching.
– Quick coupler: secure, no damage, correct pins and locks.
3. Site Preparation
– Clear the area of obstacles, debris, and unauthorized personnel.
– Mark the lifting zone and exclusion area.
– Confirm overhead clearance (power lines, structures) and underground services (pipes, cables).
– Ensure the machine has a stable, level base with adequate bearing capacity.
Training and Competence: Who Can Lift with an Excavator?
Lifting with an excavator is a specialized task that requires more than basic operator training.
Operator Requirements
Operators must be trained and competent in lifting operations, not just earthmoving. They must understand:
– How to read and apply the lift chart.
– The difference between hydraulic and tipping capacity.
– Safe lifting techniques and pick‑and‑carry procedures.
– Emergency procedures (for example, what to do if the machine starts to tip).
Signalers and Doggers
A trained signaler (dogger) is essential when:
– The operator cannot see the load or the path.
– Lifting near people or structures.
Signalers must:
– Use standard hand signals or agreed radio codes.
– Stay in a safe position with a clear view of both the load and the operator.
– Never stand under the suspended load.
Certeg’s Role: Designing Safer Lifting into Every Machine
As a manufacturer of excavators, skid steers, rollers, forklifts, tractors, and tracked carriers, Certeg designs machines to meet global safety standards and real‑world site demands.
Features That Support Safe Lifting
– Clear, ISO‑compliant lift charts for each model and configuration.
– Rated lifting points integrated into quick couplers or booms.
– Load moment limiters and alarms that warn or restrict operation when capacity is exceeded.
– Controlled lowering devices (for example, hose burst valves) to prevent uncontrolled descent.
– ROPS/FOPS cabs to protect the operator from falling objects and rollovers.
Support for Operators and Contractors
– Detailed operator manuals with lift charts and safety instructions.
– Training materials and videos on safe lifting practices.
– Dealer and technical support to help select the right machine and attachment for lifting tasks.
Action Steps for Your Next Job
To make this knowledge actionable:
1. Locate the lift chart for your Certeg excavator and keep it visible in the cab.
2. Train all operators on how to read the chart and apply lifting limits.
3. Develop a simple lift plan template for common lifting tasks.
4. Inspect the machine, lifting point, and rigging before every lift.
5. Use a signaler whenever visibility is limited.
6. Never lift over people and enforce a clear exclusion zone.
FAQ
1. How do I find the lifting capacity of my compact excavator?
Check the lift chart in the operator’s manual or on a plate or sticker on the machine (often on the canopy, cab roof, or hood). The chart shows safe lifting capacity at different lift point heights and radii for your specific boom, arm, and attachment configuration.
2. Can I use the bucket to lift loads?
Only if the manufacturer explicitly states that the bucket or a specific lifting point on it is rated for lifting. Never use the bucket teeth or edge as a lifting point. For regular lifting, use a dedicated lifting attachment (for example, lifting eye, grapple with lifting point) that is rated for the load.
3. What happens if I exceed the lifting capacity?
Exceeding capacity can cause:
– Hydraulic system failure (stalling, blown hoses, damaged cylinders).
– Structural damage to the boom, arm, or undercarriage.
– Machine tipping, which can injure or kill the operator and nearby workers.
Always stay within the rated capacity shown in the lift chart.
4. Is it safe to travel with a suspended load on an excavator?
Traveling with a suspended load (pick‑and‑carry) is high risk and should only be done if:
– The machine is specifically designed and equipped for it.
– The load is well within the dynamic rated capacity (often about 66% of static capacity).
– The load is kept low, the boom is aligned with travel, and the ground is firm and level.
In most cases, it is safer to use a crane, telehandler, or forklift for moving loads.
5. Do I need a special license to lift with an excavator?
In many regions, the excavator operator does not need a high‑risk work license just for incidental lifting, but they must be trained and competent in lifting operations. A dogger or slinger who directs the lift or selects and inspects lifting gear usually does require a high‑risk work license. Always check local regulations (for example, OHS, LOLER, AS/NZS standards).
Hot Tags:Compact Excavator Safety, Excavator Lifting Tips, Safe Lifting With Excavator, Compact Excavator Operation, Excavator Load Handling, Construction Equipment Safety, Mini Excavator Lifting, Excavator Operator Tips, Proper Excavator Lifting, Jobsite Safety Excavator