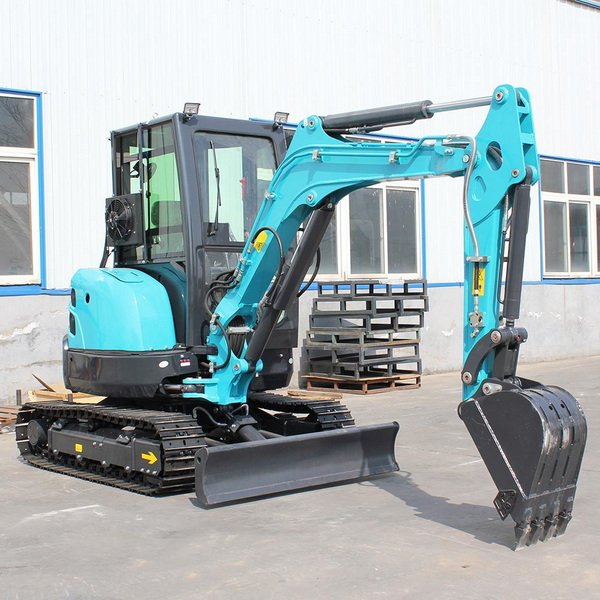
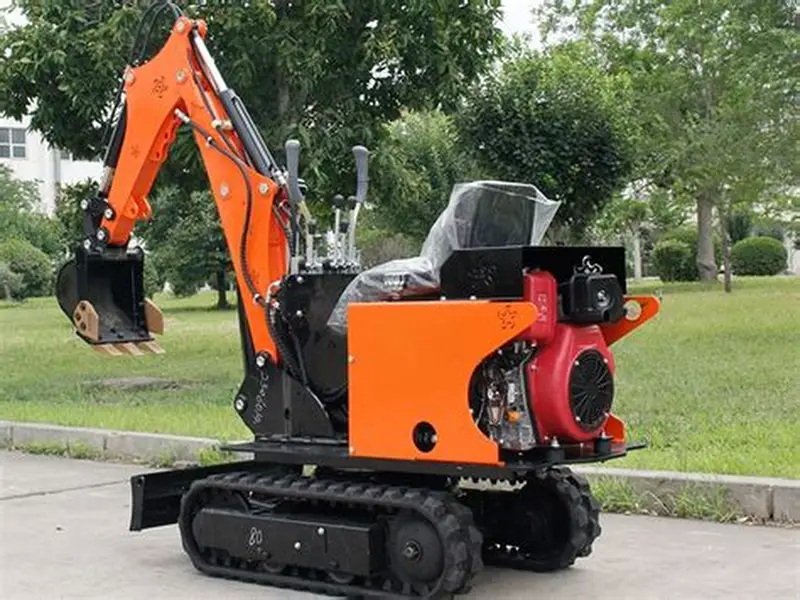
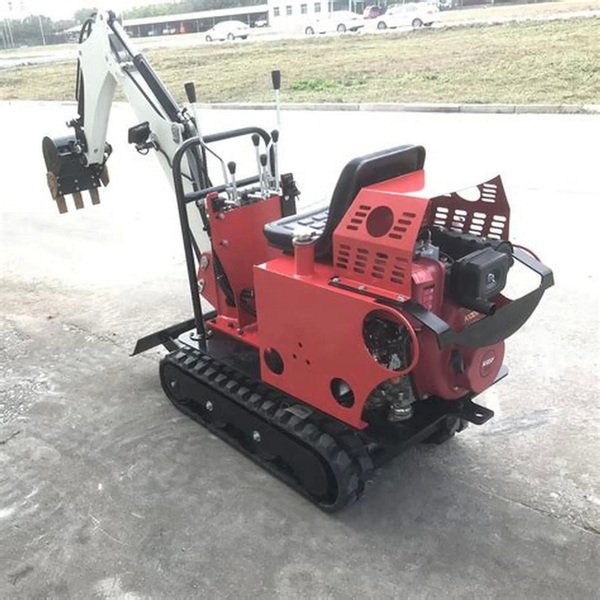
How to Calculate Compact Excavator Lifting Capacity (2026 Guide)
Content Menu
● Why Lifting Capacity Matters for Compact Excavators
● Two Key Limits: Hydraulic vs. Tipping Capacity
>> Hydraulic Capacity (Power Limit)
>> Tipping (Stability) Capacity
● Step-by-Step: How to Read an Excavator Lift Chart
>> Step 1: Identify Your Machine Configuration
>> Step 2: Determine the Lift Point Height
>> Step 3: Measure the Lifting Radius
>> Step 4: Find the Intersection and Apply Safety Factors
● Common Mistakes When Using Excavators for Lifting
>> 1. Using the Wrong Lift Chart
>> 2. Misreading Lift Point Height
>> 3. Overestimating Stability on Slopes
>> 4. Overreaching with Heavy Loads
>> 5. Ignoring Attachment Weight
● How Ground Conditions Affect Lifting Capacity
>> Typical Ground Types and Their Impact
>> Best Practices for Unstable Ground
● Real-World Case: Calculating a Pipe-Laying Lift
>> Scenario
>> Step 1: Find the Correct Lift Chart
>> Step 2: Calculate Lift Point Height
>> Step 3: Measure Lifting Radius
>> Step 4: Read the Chart and Apply Safety
● How Certeg Excavators Maximize Lifting Performance
>> Design Features That Improve Lifting
>> How to Choose the Right Model for Lifting
● Expert Tips for Safe and Efficient Lifting
>> 1. Always Use the Lift Chart
>> 2. Inspect Attachments and Rigging
>> 3. Train Operators on Lifting Procedures
>> 4. Avoid Traveling with Suspended Loads
>> 5. Monitor Hydraulic and Structural Stress
● When to Use a Crane Instead of an Excavator
● Action Step: Get Your Certeg Lift Chart & Support
● FAQ
>> 1. What is the difference between hydraulic capacity and tipping capacity?
>> 2. How do I find the lift chart for my Certeg excavator?
>> 3. Can I lift on a slope with a compact excavator?
>> 4. How does attachment weight affect lifting capacity?
>> 5. What should I do if the lift chart shows “0” or is blank at my height and radius?
Compact excavators are powerful tools on construction sites, but their lifting capacity is often misunderstood. This practical 2026 guide explains how to read a lift chart, avoid common mistakes, and safely maximize lifting performance with Certeg compact excavators.
Whether you’re placing pipes, setting curbs, or loading materials, knowing the real lifting limits—hydraulic vs. tipping, configuration, and ground conditions—keeps your crew safe and your equipment protected.
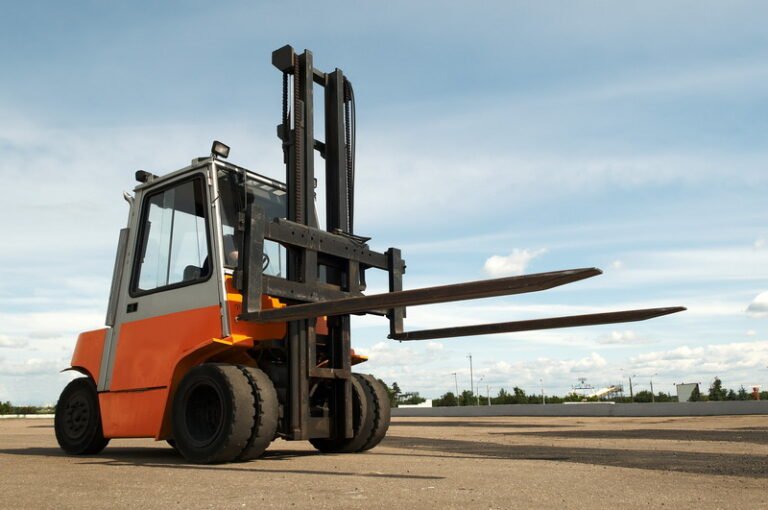
Why Lifting Capacity Matters for Compact Excavators
Compact excavators are frequently used for lifting tasks like placing pipes, setting curbs, loading materials, and positioning small structures. But unlike cranes, they are not designed as primary lifting machines, so their safe working load is strictly limited by two factors:
– Hydraulic capacity – the maximum force the hydraulic system can deliver before stalling.
– Tipping (stability) capacity – the point at which the machine begins to tip or lift a track off the ground.
Manufacturers test each model under controlled conditions and publish a lift chart (also called a lifting capacity chart) that shows the maximum safe load at different heights and radii. This chart is the only reliable way to determine what a specific excavator can lift in a given setup.
Ignoring the lift chart or guessing capacity leads to:
– Tipping accidents and operator injury
– Hydraulic overload and premature component wear
– Damage to attachments, undercarriage, and structure
– Voided warranties and liability issues
For a global manufacturer like Certeg, clear, accurate lift charts and operator training are critical for safety, compliance, and brand reputation.
Two Key Limits: Hydraulic vs. Tipping Capacity
Hydraulic Capacity (Power Limit)
Hydraulic capacity is the maximum load the excavator’s hydraulic system can lift before the pump stalls or relief valves open. It depends on:
– Engine power and hydraulic pump flow/pressure
– Cylinder size and boom/arm geometry
– Hose and valve efficiency
On most lift charts, capacities marked with an asterisk () are limited by hydraulics and typically represent about 87% of the test load. This derating ensures the machine doesn’t stall under normal conditions.
Tipping (Stability) Capacity
Tipping capacity is the load at which the excavator becomes unstable and starts to tip over. It depends on:
– Machine weight and center of gravity
– Track width and undercarriage design
– Boom/arm position and load radius
– Ground conditions and slope
Lift chart values without an asterisk are limited by stability and usually capped at about 75% of the test load. This extra safety margin protects against tipping, especially on uneven or soft ground.
How to Apply These Limits
Always use the lower of the two values:
– If the hydraulic limit is 2,000 kg and the tipping limit is 1,800 kg, the safe lifting capacity is 1,800 kg.
– Never assume that “the hydraulics can handle it” – stability is usually the real constraint.
Step-by-Step: How to Read an Excavator Lift Chart
A compact excavator lift chart is a grid that shows lifting capacity at different lift point heights and lifting radii. Here’s how to use it correctly.
Step 1: Identify Your Machine Configuration
Before reading the chart, confirm:
– Exact model (e.g., Certeg CE35, CE50)
– Boom length (standard, long, or extended)
– Arm length (standard, long, or short)
– Bucket type and weight
– Quick coupler type and weight (if fitted)
– Dozer blade position (raised or lowered)
– Counterweight (if any)
Lift charts are specific to each configuration. Using the wrong chart (e.g., a long-arm chart for a standard-arm machine) can overestimate capacity by 15–30%.
Step 2: Determine the Lift Point Height
Lift point height is the vertical distance from the ground to the bucket pivot pin (not to the load itself). To calculate it:
1. Decide how high the load needs to be placed (e.g., onto a trailer, scaffold, or trench wall).
2. Add the height of the load and the lifting device (chain, sling, hook).
3. Round up to the next height increment on the chart (e.g., 2.0 m, 2.5 m, 3.0 m).
Example:
– Load height: 1.2 m
– Sling length: 0.8 m
– Target placement: 2.5 m above ground
– Required lift point height ≈ 2.5 + 1.2 + 0.8 = 4.5 m
Use the 4.5 m row on the lift chart.
Step 3: Measure the Lifting Radius
Lifting radius is the horizontal distance from the centerline of the swing point (turntable center) to the center of the load. To measure it:
1. Position the excavator where the lift will occur.
2. Measure from the center of the machine to the load’s center of gravity.
3. Note whether you’re lifting:
– Over the front (end)
– Over the side
– Over the corner (diagonal)
Most charts show separate columns for “over front” and “over side” capacities. Over-the-side lifting is usually more limited due to reduced stability.
Step 4: Find the Intersection and Apply Safety Factors
On the lift chart:
– Go to the row for your lift point height.
– Go to the column for your lifting radius.
– The value at the intersection is the maximum rated lifting capacity for that configuration.
If the cell is blank or shows “0”, the machine has no safe lifting capacity at that height/radius – do not attempt the lift.
Always apply a safety factor:
– For critical lifts (people, structures, high value), reduce the chart value by 10–20%.
– For rough or soft ground, reduce by 20–30% or avoid lifting altogether.
Common Mistakes When Using Excavators for Lifting
Even experienced operators make mistakes that compromise safety and equipment life. Here are the most frequent errors and how to avoid them.
1. Using the Wrong Lift Chart
– Using a chart for a different model, boom/arm length, or attachment.
– Ignoring the dozer blade position (raised vs. lowered).
Fix: Always check the machine tag and manual. Use only the chart that matches the exact configuration on site.
2. Misreading Lift Point Height
– Measuring from the ground to the load instead of to the bucket pin.
– Forgetting to include the sling and load height.
Fix: Always measure to the bucket pivot pin and add all vertical components.
3. Overestimating Stability on Slopes
– Assuming the lift chart applies on slopes or soft ground.
– Lifting heavy loads while on a side slope.
Fix:
– Never lift on slopes greater than 3–5° unless the manufacturer provides a slope-specific chart.
– On uneven ground, level the machine with the blade or use mats/plates.
4. Overreaching with Heavy Loads
– Extending the arm fully while lifting near maximum capacity.
– Swinging or traveling with a suspended load.
Fix:
– Keep loads close to the machine whenever possible.
– Lower the boom and stop all movement before swinging or traveling.
5. Ignoring Attachment Weight
– Forgetting that buckets, couplers, and other attachments reduce net lifting capacity.
Fix:
– Subtract the weight of the bucket and coupler from the chart value to get the net load capacity.
– Use lighter attachments (e.g., grapples, lifting hooks) when lifting is the primary task.
How Ground Conditions Affect Lifting Capacity
Lift charts assume a firm, level, uniformly supporting surface. In real-world conditions, capacity can be significantly reduced.
Typical Ground Types and Their Impact
| Ground Condition | Effect on Lifting Capacity | Best Practice |
|---|---|---|
| Firm, level concrete | Near chart capacity | Minimal derating (0–10%) |
| Compacted gravel/soil | Reduced stability | Derate by 15–25% |
| Soft, muddy, or loose soil | High risk of tipping | Avoid lifting; use mats or plates |
| Slopes (3–10°) | Reduced stability, especially over the side | Derate by 20–40%; avoid heavy lifts |
| Uneven or stepped ground | Unbalanced load on tracks | Level the machine before lifting |
Best Practices for Unstable Ground
– Conduct a site assessment before lifting.
– Use steel plates, timber mats, or cribbing to create a stable platform.
– Keep the boom low and close to the machine.
– Avoid sudden movements, fast swings, and traveling with a load.
Real-World Case: Calculating a Pipe-Laying Lift
Let’s walk through a typical jobsite scenario to see how this works in practice.
Scenario
– Machine: Certeg CE40 compact excavator
– Configuration: Standard boom, standard arm, 0.25 m³ bucket (180 kg), standard quick coupler (120 kg)
– Task: Lift a 1.2 m diameter concrete pipe (1,800 kg) from the ground and place it on a trench wall 2.8 m high.
– Ground: Compacted gravel, level.
Step 1: Find the Correct Lift Chart
Use the CE40 lift chart for:
– Standard boom
– Standard arm
– Standard bucket and coupler
– Dozer blade lowered for stability
Step 2: Calculate Lift Point Height
– Trench wall height: 2.8 m
– Pipe height: 0.6 m
– Sling length: 0.5 m
– Total lift point height ≈ 2.8 + 0.6 + 0.5 = 3.9 m
Use the 4.0 m row on the chart.
Step 3: Measure Lifting Radius
– Distance from machine center to pipe center: 4.2 m
– Lifting over the front
Use the “over front, 4.2 m” column.
Step 4: Read the Chart and Apply Safety
– Chart shows 2,200 kg at 4.0 m height, 4.2 m radius, over front.
– Subtract attachment weight: 180 + 120 = 300 kg
– Net capacity: 2,200 – 300 = 1,900 kg
The pipe weighs 1,800 kg, so it is within the safe limit. Apply a 10% safety factor (1,710 kg) and confirm that the ground is firm and level.

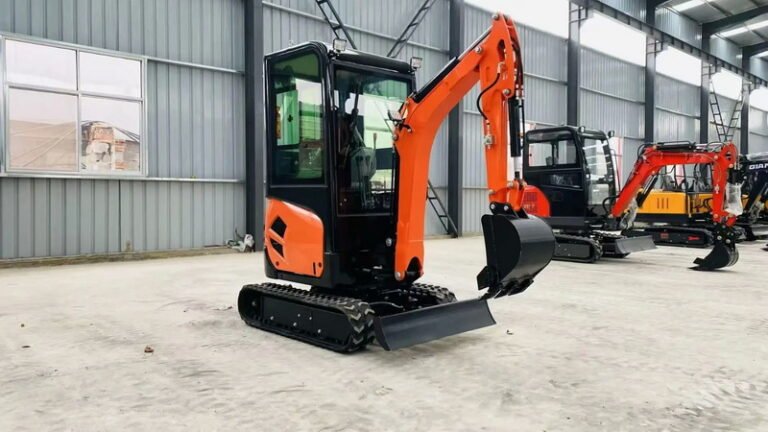
How Certeg Excavators Maximize Lifting Performance
As a global manufacturer of compact excavators, Certeg designs machines to deliver strong lifting capacity while maintaining safety and durability.
Design Features That Improve Lifting
– Wider undercarriage – increases stability and tipping resistance.
– Optimized counterweight – balances the machine without excessive weight.
– High-flow hydraulic systems – provide strong breakout force and lifting power.
– Stable dozer blade – can be lowered to improve stability during lifting.
– Lifting work modes – reduce swing speed and limit travel when lifting.
How to Choose the Right Model for Lifting
When selecting a compact excavator for frequent lifting tasks, consider:
– Maximum lifting capacity over the front and side
– Lift point height at common working heights (2–4 m)
– Track width and ground pressure
– Availability of lifting-specific attachments (hooks, grapples)
For example, a 4–5 ton class machine with a wide undercarriage and high hydraulic flow will outperform a narrow, low-flow model of the same weight class.
Expert Tips for Safe and Efficient Lifting
1. Always Use the Lift Chart
Never guess or rely on “experience.” The lift chart is the only reliable source of safe lifting capacity for that specific machine and configuration.
2. Inspect Attachments and Rigging
– Check chains, slings, hooks, and quick couplers for wear, cracks, and deformation.
– Use rated lifting gear with clear load markings.
– Ensure the quick coupler is ISO 13031 compliant and properly maintained.
3. Train Operators on Lifting Procedures
– Include lift chart reading, ground assessment, and safe rigging in operator training.
– Use checklists for pre-lift inspections.
– Emphasize that lifting is a high-risk task, not a routine digging operation.
4. Avoid Traveling with Suspended Loads
– Lower the load before moving the machine.
– If travel is unavoidable, keep the load as low as possible and move slowly.
5. Monitor Hydraulic and Structural Stress
– Watch for signs of hydraulic overload (stalling, slow response, overheating).
– Inspect the boom, arm, and structure regularly for cracks or deformation.
When to Use a Crane Instead of an Excavator
Compact excavators are not cranes. Use a dedicated lifting machine when:
– The load exceeds the excavator’s rated capacity, even with a safety factor.
– The lift point height or radius is beyond the chart limits.
– The load is unstable, unbalanced, or requires precise positioning.
– The work is near power lines, structures, or in high-traffic areas.
Using an excavator as a crane for tasks beyond its design limits is a major safety and liability risk.
Action Step: Get Your Certeg Lift Chart & Support
To ensure your team can calculate compact excavator lifting capacity accurately:
1. Download the official lift chart for your Certeg model from the product page.
2. Print and post the chart in the cab for easy reference.
3. Schedule operator training on lifting safety and chart reading.
Need help selecting the right compact excavator for your lifting needs?
Contact our global sales team for a free consultation and machine recommendation tailored to your region and application.
FAQ
1. What is the difference between hydraulic capacity and tipping capacity?
Hydraulic capacity is the maximum load the hydraulic system can lift before stalling. Tipping capacity is the load at which the machine becomes unstable and starts to tip. The safe lifting capacity is the lower of the two values.
2. How do I find the lift chart for my Certeg excavator?
Lift charts are included in the Operation and Maintenance Manual and are also available on the product page for each model on the Certeg website. Look for “Lifting Capacity Chart” or “Lift Chart” in the technical documents section.
3. Can I lift on a slope with a compact excavator?
Lifting on slopes is strongly discouraged. Lift charts assume level ground. On slopes, stability is greatly reduced, and the safe lifting capacity can drop by 20–40% or more. If lifting on a slope is unavoidable, consult the manufacturer for specific guidance and use extreme caution.
4. How does attachment weight affect lifting capacity?
The lift chart shows the total capacity at the bucket pin. You must subtract the weight of the bucket, quick coupler, and any other attachments to get the net load capacity. For example, if the chart shows 2,000 kg and attachments weigh 300 kg, the net capacity is 1,700 kg.
5. What should I do if the lift chart shows “0” or is blank at my height and radius?
A “0” or blank cell means the machine has no safe lifting capacity at that height and radius. Do not attempt the lift. Consider using a different machine, a crane, or repositioning the excavator to reduce the radius.
Hot Tags:Mini Excavator Lift Capacity Chart, Compact Excavator Safety, Excavator Lift Capacity, Calculating Excavator Lift Capacity, Mini Excavator Lifting Capacity, Excavator Load Chart, Compact Excavator Lifting Limits, Excavator Safe Lifting, Excavator Stability Guidelines, Excavator Lifting Safety Tips